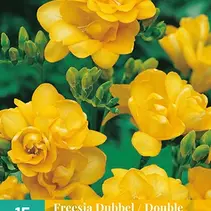
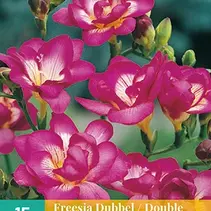
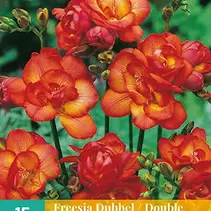
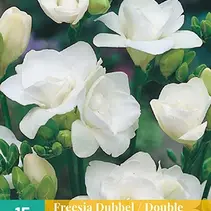
Do you also want fragrant flowers in your vase?
Planting freesia bulbs - instructions
Well-drained soil
Freesia bulbs should preferably be planted in airy, well-drained soil. If puddles remain at the intended planting spot 5 to 6 hours after rain, you will have to find another spot. An alternative is to improve the soil structure, by adding organic material. This will raise the soil several centimetres, improving drainage. Peat moss, compost, or composted manure do the trick and are available everywhere.
How should I plant the freesia bulbs?
Planting Freesia bulbs is done with the pointed end upwards. Dig holes and plant your Freesia bulbs 5cm deep and 8cm apart. The bulbs look like small, slender onions. Plant them with the tip pointing upwards.
Where should I plant the Freesia bulbs?
When planting Freesia bulbs, remember that your Freesias love full sun. Plant your Freesias where they will receive full sun throughout the day.
Freesia care instructions
After planting, water your Freesias well, soaking the soil. Roots and shoots develop in autumn, sprouting occurs in winter and flowers appear in spring.
Ideal as a cut flower for bouquets
Once in flower, feel free to use the freesia as a cut flower for indoor bouquets. Cutting out a freesia flower will not harm the plant. One of the best reasons to grow Freesias is to be able to bring the fragrant flowers indoors.
Leave foliage intact until late summer
After your Freesias have finished flowering for the season, leave the leaves intact, so don't cut them off. The leaves will continue to absorb sunlight and provide nourishment and blooms for next year. Water your Freesias if necessary.
Later in the summer, the leaves will turn yellow and die as the plant retreats into germination. At that point, the leaves can be removed. Your Freesias will then go into dormancy for a few months before the next growth cycle arrives.
Our freesia bulbs, like all our other products, come with detailed planting instructions.


